If you wish to try out Mimer at home you can go to www.mimer.com and download a Mimer development version for, among other choices, Windows or Linux. If you install this on your own computer at home, you can create your own databases, or you can connect to our Mimer server and do the lab assignments from home.
To connect to a Mimer database, you must first tell the local Mimer installation that the database exists.
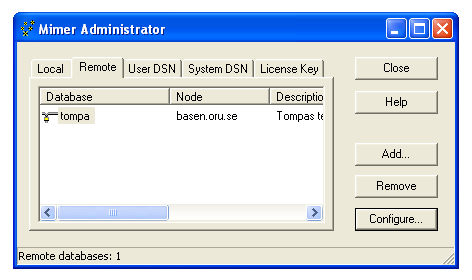
Click on Start, then on All Programs, then on Mimer SQL Engine 10.0 (or the version you are using), and choose Mimer Administrator from the menu. When Mimer Administrator has started, choose the tab Remote to register a remote database:

That the database is "remote" means that it is stored on a server, and not locally on the same machine.
The database dbk may already be listed, but if it isn't, you have to add it.
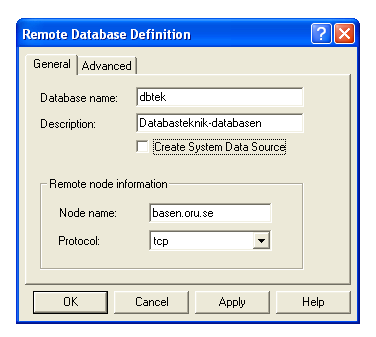
Click on Add, and in the Window that appears, enter the name of the database (dbk, not dbtek as in the picture). The Node name should be basen.oru.se. Be sure to uncheck the check box for Create System Data Source.
|
Again: dbk, not dbtek as in the picture! |
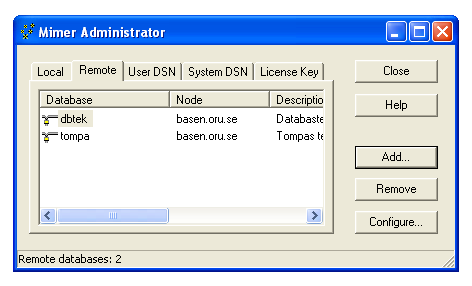
When you click OK, the new database will show up in the Mimer Administrator window. You can now close that window.
If you get an error message saying Error creating data source something, you forgot to uncheck Create System Data Source. Mimer will work anyway.
If you get an error message saying that the registry key HKEY_LOCAL_MACHINE\SOFTWARE\Mimer\Mimer SQL\SQLHosts\something couldn't be created, there was a problem with how Mimer was installed on the machine. Nothing will work until the problem has been fixed. Please contact your teacher.
|
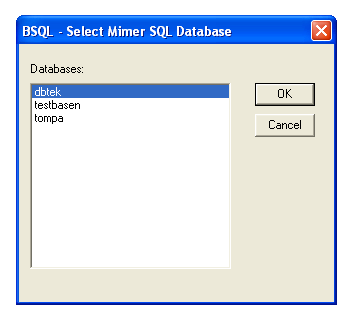
Remember: dbk, not dbtek as in the picture! |
Choose the correct database, and click on OK. A text window will open, where you can enter your user name and your password (which you will get from your teacher), and then type in SQL queries. Queries can span several rows, and end with a semi-colon (;).
Start DbVisualizer from the start menu: Click on Start, then on All Programs, then Mimer SQL Engine 10.0, and finally DbVisualizer. This window opens:
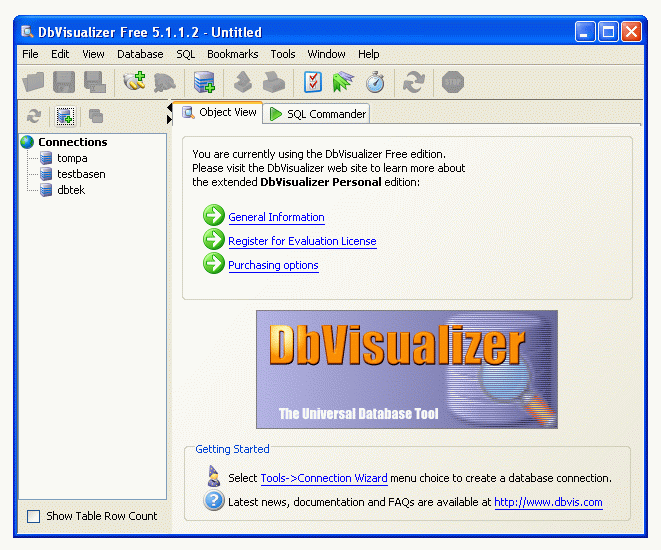
If you have previously defined a connection to the database you wish to work with, you can just click on its name in the list of connections to the left. Then click on Connect:
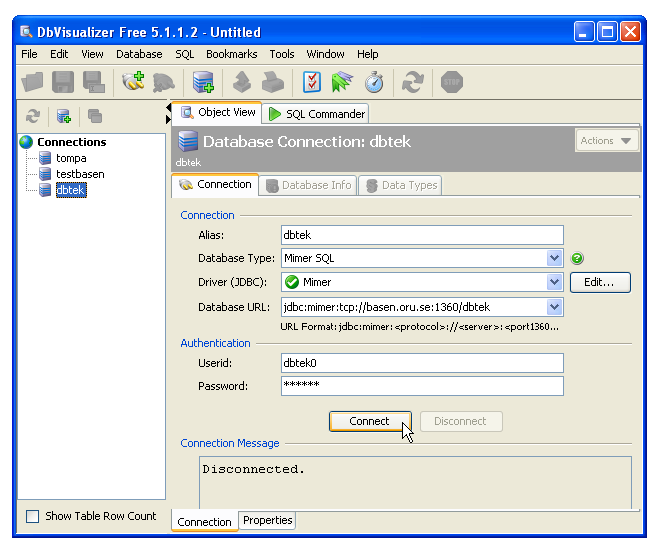
If you have not already defined a connection to the database, you must create one. (Otherwise, you can jump directly to what you can do when you have an open connection.)
Click on Database in the menu bar, and choose Create Database Connection:
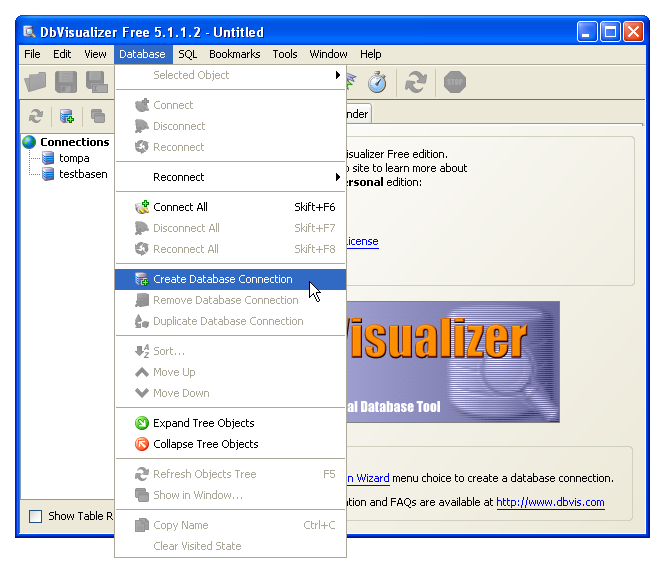
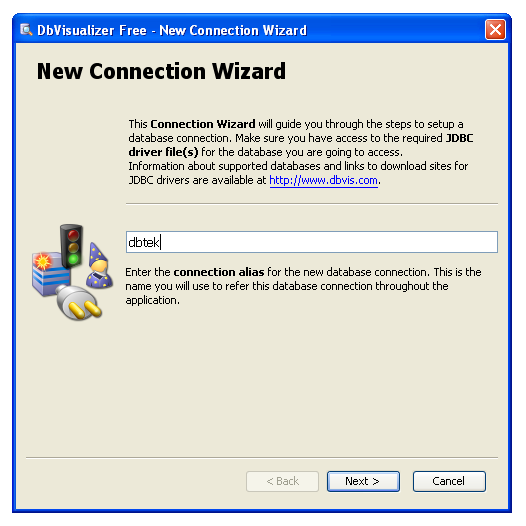
The "New Connection Wizard" is easiest to use:
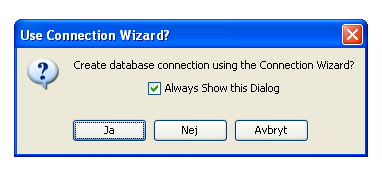
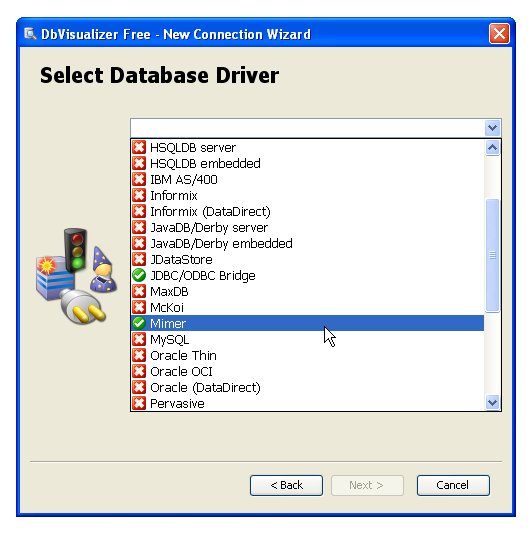
DbVisualizer is a general database interaction tool, that can be used to connect to various database management systems, such as Oracle, MySQL, DB2, and Microsoft SQL Server. You must indicate that it is a Mimer database that you wish to use:
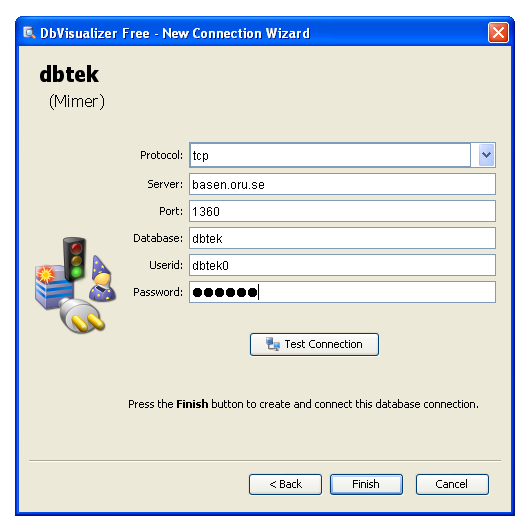
DbVisualizer is written in Java, and uses JDBC, which is the Java way to connect to databases. JDBC does not use the list of local and remote databases that you have declared in Mimer Administrator, so you have to type in some information again:
|
Just as with Batch SQL, the name of the database is dbk, not dbtek as in the picture! |
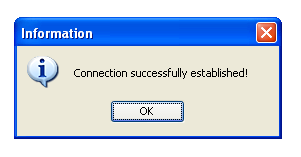
Click on Test Connection to see if everything works:
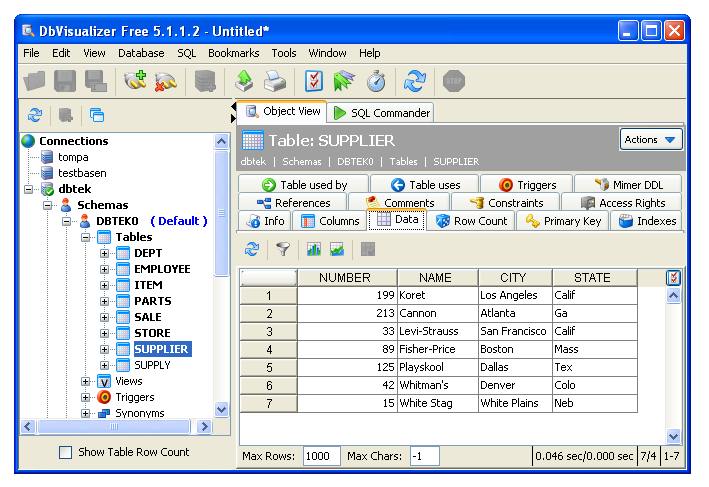
Now that you have an open connection, you can look at an object in the database, such as the table SUPPLIER, shown here:
Or you can type and run SQL queries:
Click on Start, then on All Programs, then on Mimer SQL Engine 10.0, and choose Mimer Administrator from the menu. When Mimer Administrator has started, choose the tab User DSN to create a data source:
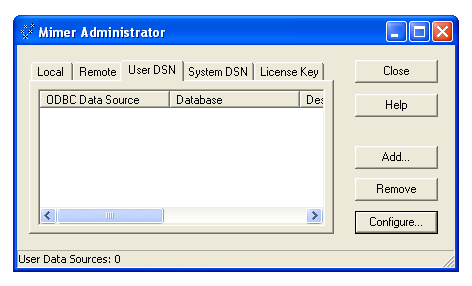
A user data source can only be used by the user who created it, as opposite to a system data source, which can be used by anyone.
Click on the Add to create a new user data source.
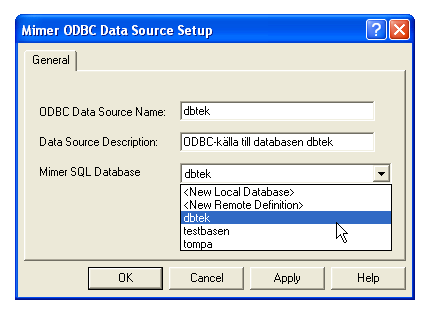
Finally, click OK, and see how the new data source shows up:
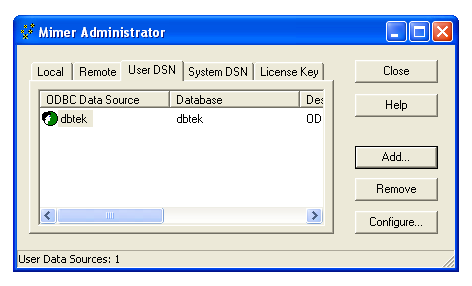
ODBC data sources can also be managed centrally in Windows, using the ODBC Data Source Administrator in the control panel. The newly created data source shows up there too:
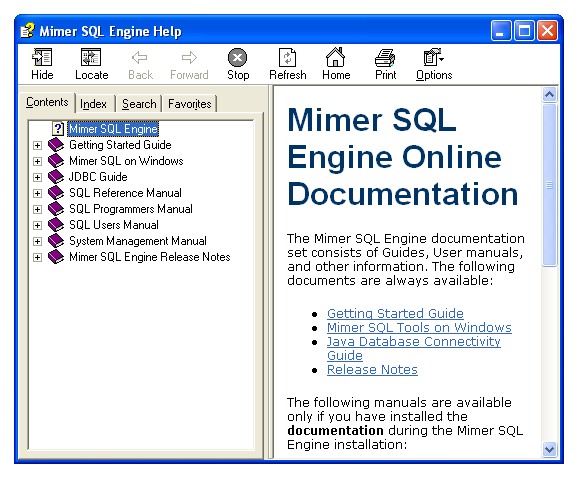
On Windows, you can get the documentation in a standard Windows help window. Click on Start, then on All Programs, then on Mimer SQL Engine 10.0, then on Online Documentation, and choose Mimer SQL Engine Documentation from the menu:
There is an FAQ list too.